
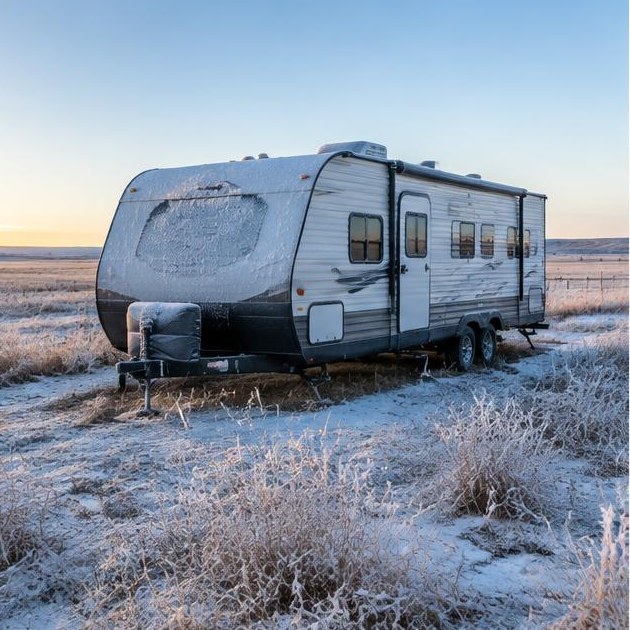
Plan before the first freezing night
Do not wait until a forecast has already turned cold to think about water left in your RV. A trailer parked between trips can have water in pumps, fixtures and lines even when its main tank appears empty. Start with your travel plans: will you keep using the rig, leave it in storage or bring it out occasionally? Your answer changes the conversation about protection. Read the plumbing instructions for your RV and its installed appliances rather than borrowing a checklist from a different model.
Find out what is still holding water
The freshwater tank is only one part of the system. Water can remain at fixtures, in the pump, in the water heater and in connected accessories. Make a list of the equipment on your rig before choosing a method. Do not assume that draining a tank has emptied everything else. If the RV was used after a previous winterization, treat the system as needing another review. Explain that history when you call Robert so the starting point is clear.
Choose the method for your actual RV
Antifreeze and air-blowout procedures are not interchangeable instructions for every rig. Follow the vehicle and component manufacturers’ guidance, including bypass arrangements and appropriate materials. Do not use automotive antifreeze in a potable-water system. If you cannot identify the valves or equipment involved, stop and ask rather than experimenting. An incomplete procedure can leave the very area you wanted to protect untreated. Robert can discuss winterization for your plumbing layout at the place where the RV is stored.
If you camp through the winter
Using an RV in cold weather means managing water while the rig remains in use, not simply following a storage procedure once. Consider where water lines and connections sit, what equipment depends on power and how you will respond if weather changes. Do not assume that a heated interior protects every exterior connection or compartment. Follow your RV’s cold-weather instructions and check conditions at the campsite. A furnace operating normally is important, but it does not establish that every plumbing component is protected.
Keep a record for the spring
Write down the date, the procedure used and any equipment that was left disconnected or bypassed. Leave yourself a clear record of the rig’s condition instead of relying on memory months later. Before spring travel, de-winterization is a chance to return the system to use and look for leaks. Check the pump and fixtures before packing the trailer. If something behaves differently after storage, describe the change to Robert rather than repeatedly running equipment while water escapes.
Work through hidden water users
Walk through the trailer as though you were preparing a meal, washing up and taking a shower. That routine helps identify branches that a tank drain alone will not address. An outside shower, drinking-water dispenser or washer connection can be easy to overlook because it is not used on every trip. Check the equipment inventory against the plumbing diagram, including accessories installed after purchase. Filters and treatment cartridges may have separate storage instructions. Identify their housings before introducing winterizing fluid, since some cartridges must be removed or handled differently. Give an unused connection the same attention as a frequently used faucet: infrequent use does not mean it contains no water. Keep the finished inventory with your winterization record so next season begins with a map instead of another search.
Make a storage plumbing route
Divide the work into a deliberate route rather than moving randomly between compartments. Locate the approved drain points, water-heater controls and bypass arrangement before beginning. Let hot water cool and follow the heater instructions for disconnecting energy sources and relieving pressure before draining; never loosen a pressurized drain fitting. Use only potable-system winterizing products specified for the application. If compressed air is an approved method, the equipment instructions determine pressure and procedure, not the maximum output of a compressor. Work through the following planning sequence, then use the actual model instructions for execution.
- Identify every tank, branch and water-using accessory on the plumbing diagram.
- Match each component to its manufacturer-approved draining or protection procedure.
- Mark completed steps and record valves or bypasses left in storage positions.
- Place a spring reminder at the controls for equipment that must not run empty.
Prepare for an unexpected cold forecast
If a freeze enters the forecast between trips, reconsider the rig’s current condition rather than relying on last month’s preparation. Filling the system for a weekend may have undone its storage protection. Check the expected low temperature and duration, then decide whether you can complete the approved procedure before temperatures fall. A closed compartment is not necessarily insulated, and a portable heater aimed into a bay is not a substitute for an approved cold-weather setup. Avoid improvised heat sources around plastic plumbing or combustible materials. If you suspect water has already frozen, stop operating the pump and arrange a safe assessment. Cracks may become apparent only after thawing, so restoring flow does not finish the investigation. Watch accessible connections closely when the system is returned to use.
Return water service in stages
Spring startup deserves its own unhurried session. Review your storage notes before changing valves, reconnecting filters or filling the heater. Follow the specified flushing and sanitizing procedures; clearing winterizing fluid and sanitizing the plumbing are different tasks. Verify the heater is properly filled before restoring its heating source. Begin checking for leaks where fittings are accessible, then inspect cabinets and compartments after operating fixtures. An unexplained pump cycle with every outlet closed warrants attention rather than repeated testing. Revisit the same areas later, because a small seep may need time to become visible. Dry any old moisture so a fresh leak is easier to recognize. Finish by updating the record with anything repaired or left out of service before the first departure.